How to Photograph Great Blue Herons: 7 Tips to Take Your Wildlife Photography to the Next Level

Have you ever tried to photograph a great blue heron?
In this guide, you’ll learn several skills and techniques that will help you take your great blue heron photography to the next level.
Over the past several years, I’ve developed a deep appreciation for spending time with and photographing great blue herons. In fact, I wouldn’t be surprised if most of my wildlife photography outings involved trying to find at least one of these elegant birds.
Through my successes and challenges, I learned a lot about how to photograph these beautiful birds.
That’s why I want to provide you with 7 tips so you can be prepared for the next time you encounter one.

Great blue heron and nestlings | Nikon D4 + 200-500 mm f/5.6 | ISO 450, 1/500, f/5.6 @ 200 mm
Related Articles

Great blue heron | Nikon D500 + 200-500 mm f/5.6 | ISO 3600, 1/2000, f/5.6 @ 340 mm
What are great blue herons?
The great blue heron is the largest heron species in North America and one of the biggest in the world. They are one of many herons found in the Americas, including the green heron, great egret, and black-crowned night heron.

What do great blue herons eat? What is the wingspan of a great blue heron? What sound does a great blue heron make?
If you’re curious about the answer to any of these questions and more, you won’t want to miss my recent article, What do great blue herons eat? 8 amazing facts about these beautiful birds.
1) Respect the birds
When doing great blue heron wildlife photography, animal welfare must be front and centre.
Always maintain a respectful distance between yourself and the heron. Do not surround or corner the bird to avoid unnecessary disturbance to the herons.
Great blue herons are large and powerful birds, but if you approach them incorrectly, you can scare them off, prevent them from feeding, or worse.
As with any type of wildlife photography, I think you would rather the great blue heron in front of you be more focused on spearing a fish than desperately flying away from you.
How close is too close?
Many wildlife photographers will tell you to keep a “good distance” between yourself and an animal, but this distance can vary quite a bit. What might work with one animal, might not work with another.
For example, I have photographed great blue herons that I cannot get within 100 metres. I have also had great blue herons less than 5 metres away. In these cases, it’s best to read the animal’s body language.
Has it stopped what it was doing to look in your direction? Is the animal scared of you? Is it comfortable with you? Is it behaving naturally?
These questions will help you make the best decision for the animal’s welfare.
Note: Despite your best efforts, you will at some point disturb an animal, whether it’s a distant great blue heron or a mallard within a few inches of you at your local pond. Accidents happen, but you can minimize them if you keep the animal’s well-being in mind.

Great blue heron | Nikon D500 + 300 mm f/2.8 VR II | ISO 1100, 1/250, f/2.8
2) Learn about great blue herons’ behaviour
Observing your subject goes a long way
Where does your subject like to feed? When does it like to feed? Does it move around? How long does it wait before attempting to spear a fish?
Asking yourself these questions (and many more) is the first part of the equation that will help you identify and, most importantly, predict upcoming photo opportunities.
Once you are in the field, you will increase your chances of getting stunning photos by simply observing your great blue heron.
In fact, the first few times you’re out there, you may not even get any good photos, but you will gain valuable experience from simply watching and learning about the great blue heron’s behaviour.
Note: Sometimes the best thing you can do is scout a location and watch a wildlife photography subject without a camera. Personally, I find it difficult to resist the urge to always bring along my camera (haha), but it has been rewarding when I have.
Learn about the great blue heron’s life cycle
Similar to when you photograph other species, learning about their life cycle will help you identify excellent photographic opportunities.
Like most birds, great blue herons breed in the spring. They raise their young throughout the summer at their nesting site (called a heronry). The chicks stay at the nest for a while before they fledge and leave home.
Having a good grasp of the great blue heron’s life cycle can help you get photos of adults, chicks, and juveniles, at different times of the year.
This guide gives you a pretty good start, but if you’d like more in depth information, check out Audubon or All About Birds.

Great blue heron | Nikon D500 + 300 mm f/2.8 VR II + 1.4x TC | ISO 560, 1/4000, f/5.6 @ 420 mm
3) Where to photograph great blue herons
One of the best things about photographing great blue herons is how common they are. You can find them at almost any river or lake. Sometimes they can even be found in fields hunting rodents and reptiles! In fact, Jeremy Neipp shared an incredible video of a great blue heron hunting gophers in a meadow.
Urban vs rural
Urban areas can provide more frequent opportunities to photograph herons. Why?
Because the birds are more likely to be comfortable around humans than in less trafficked areas. Take advantage of these situations to get some shots that would be impossible in other less populous areas.
In the countryside or rural areas where great blue herons aren’t accustomed to people, you will have to be much more cautious about your approach.
Remember that your goal as a wildlife photographer should be to minimize disturbing the species you photograph, no matter where you are.
Use eBird to search for sightings and locations
As I mentioned in my previous blog about How to Photograph Shorebirds, eBird is an invaluable tool for tracking bird sightings in your region.
You can look at individual species, their maps, local hotspots and other great birding locations, and even add your sightings to the citizen science database so other people can enjoy birding.
Keep in mind that eBird is primarily an app for birders. I say this because a site that is good for birding may not be for wildlife photography. For instance, there may be parks where fences or regulations prevent you from actually approaching the animals.
Note: As of November 2021, I’ve logged 130 species on eBird. How many have you seen? Let me know in the comments below!

Screenshot of great blue heron page from eBird
4) How to approach great blue herons
In my experience, approaching any animal depends on the species, how accustomed they are to humans, and whether they are urban or rural.
Great blue herons have exceptional eyesight and are sensitive to movement and noise, which can make it difficult to get close to them. Luckily, the tips below will help you get closer in a more ethical way the next time you photograph them.
Hide yourself
Most of the time in wildlife photography, obscuring your shape will give you a significant advantage. There are many things you can use to achieve this:
Wear dark colours or colours that are similar to your surroundings.
Wear camouflage or a ghillie suit.
Use your surroundings (i.e. vegetation, rocks, etc.) to hide.
Use a photo blind or hide.
And the list goes on! Be creative in your “cover missions.”
I personally like to use as many of these options as needed depending on the situation. However, I prefer a full suit of camouflage while using the plants around me to hide.
For example, in the photo below, I was belly down in the mud hiding behind some reeds. I was able to hide and avoid disturbing the great blue heron.
Stay low
The lower you are, the more likely it is that great blue herons and other animals will not notice you. It’s all about hiding the human outline. By getting on the ground, the animals are less likely to see you.
In addition, having a low perspective helps reduce depth of field and separate your subject from the background.
Move slowly and indirectly
Once in position to photograph the great blue heron, if you ever need to move, do so slowly.
This is important for three reasons:
First, your chances of the heron noticing you decrease dramatically.
Second, even if the bird notices you, your movement might not disturb it.
Lastly, great blue herons are spooked by movement and sound. Therefore, by moving slowly, you also restrict the noise you make.
Apart from moving slowly, avoid approaching your subject indirectly and making eye contact. Think about it: how would you feel if a random stranger walked straight up to you while staring at you with a huge camera in hand?
Approaching any animal directly can make them feel nervous. For that reason, it can be best to pretend you’re ignoring them while making your way towards them indirectly.
As many wildlife photographers before me have shared, avoiding eye contact and walking in S shapes towards your subject can get you much closer than moving in a straight line.
Arrive before the birds do
One of the best things you can do to get awesome photographs of great blue herons is to arrive at the shooting location before they do. This usually requires getting up early in the morning before they land in their preferred hunting spot.
If you arrive before the birds do, you’ll have a much better chance to get the photos you want. You’ll be able to set up, get your favourite spot, and prepare for when the great blue herons fly in. A huge part of this is also understanding the location you are shooting at.

Great blue heron | Nikon D500 + 300 mm f/2.8 VR II + 1.4x TC | ISO 640, 1/100, f/4 @ 420 mm
5) What camera gear do you need?
How you photograph great blue herons will likely determine what gear you need. It’s important to remember that your lens will impact the look and quality of your final photograph more than your camera. So, keep that in mind if you are considering an upgrade.
Lens
A telephoto zoom gives you excellent flexibility
If you are new to photographing great blue herons, I would recommend using a telephoto zoom that can reach at least 300mm (makes it easier to get close to wary wildlife), such as the Nikon 70-300 or the Nikon 200-500.
A telephoto zoom will give you the flexibility to zoom in and out, without limiting you to one focal length, rather than a prime lens. This can be excellent if you’re a beginner wildlife photographer, are photographing a species for the first time, or if you can’t decide on a single focal length.
In fact, that’s what I did at this particular beach that was new to me. For my first several visits, I took my Nikon 200-500 because I did not know what to expect. With this lens, I was better prepared for the unexpected by having a large zoom range.
A prime lens gives you optimal image quality speed
Once you are familiar with your subject's preferred habitat and behaviour, a prime can be beneficial because they generally have better image quality and larger maximum apertures than zooms.
After those first few times at the beach, instead of the Nikon 200-500, I began to use my Nikon 300mm f/2.8. The f/2.8 aperture lets in 4 times the amount of light as the f/5.6.
Because of this, I was able to:
Shoot at faster shutter speeds;
Shoot earlier in the morning and later into the evening;
Make images with less noise;
Have better image quality;
Create much better, more pleasing out of focus areas (bokeh).
Camera
When it comes to cameras for great blue heron photography, you’re in luck! Great blue herons are quite slow moving and can remain motionless for long periods of time. This means you can absolutely save money if you’re a wildlife photographer on a budget.
If you have cooperative subjects, you won’t need a top of the line autofocus system nor the highest frame rates.
Despite my Nikon D500 being my go-to body, I have successfully photographed great blue herons with a Nikon D700, D7100, D7500, and even Nikon Z6. And you can, too! All three autofocus systems are inferior to the D500, but they perform well with large, slow subjects like great blue herons.
When it comes to the camera you need, you don't need to overthink it or break the bank to make beautiful images. That’s exactly what I did below when I photographed this great blue heron in the rain with a Nikon D700.
Note: There is never a need for a better, more expensive wildlife photography camera, unless yours is broken or incredibly old. However, a better camera will make it easier to get the shots you want.

Great blue heron | Nikon D700 + 300 PF + 1.4x TC | ISO 3200, 1/500, f/5.6 @ 420 mm
6) What camera settings do you need?
Great blue herons wading
Unless they are in flight or spearing a fish, great blue herons are slow. This means you can take excellent photos of them at slow shutter speeds. In fact, I took this photo of a great blue heron in Ottawa at 1/100 of second.

Great blue heron | Nikon D500 + 300 mm f/2.8 VR II + 1.4x TC | ISO 2800, 1/100, f/4 @ 420 mm
If you’re shooting at sunrise or sunset, you will likely need a high ISO. Fortunately, with advanced camera sensors and excellent noise reduction software, like DXO Pure Raw, added noise is becoming less of an issue than in the past.
Note: If you photograph a bird in low light and want to keep your ISO low, try to capture silhouettes. By exposing for the brighter sunrise or sunset, you limit your ISO while creating creative images.
Great blue herons in flight and hunting
When great blue herons do fly, you will have to bump up your shutter speed. However, they are still relatively slow compared to other birds, so you can get away with shutter speeds as slow as 1/500, like I did in this photo.
In my experience, the fastest movement a great blue heron will make is when it lunges to spear its prey. In these cases, a minimum of 1/1000 is required.
Whether they’re hunting or flying, I think you can benefit a lot by shooting faster than the minimum shutter if the lighting conditions allow it. In fact, if possible, I’d rather keep mine above 1/1000.
Don’t forget that you can experiment with slow shutter speeds even when photographing great blue herons in flight to get different effects. Remember, learn the rules of photography and then break them when needed.

Great blue heron | Nikon D700 + 300 PF + 1.4x TC | ISO 2200, 1/1000, f/5.6 @ 420 mm
7) Experiment and break the rules
Like anything creative, don’t be afraid to experiment and go against the wildlife photography rules you have learned. Instead of using a long focal length, use a shorter focal length. Instead of using fast shutter speeds, use extremely slow shutter speeds. Instead of getting a frame-filling photo, shoot small in frame. Or even shoot in poor light at high ISOs.
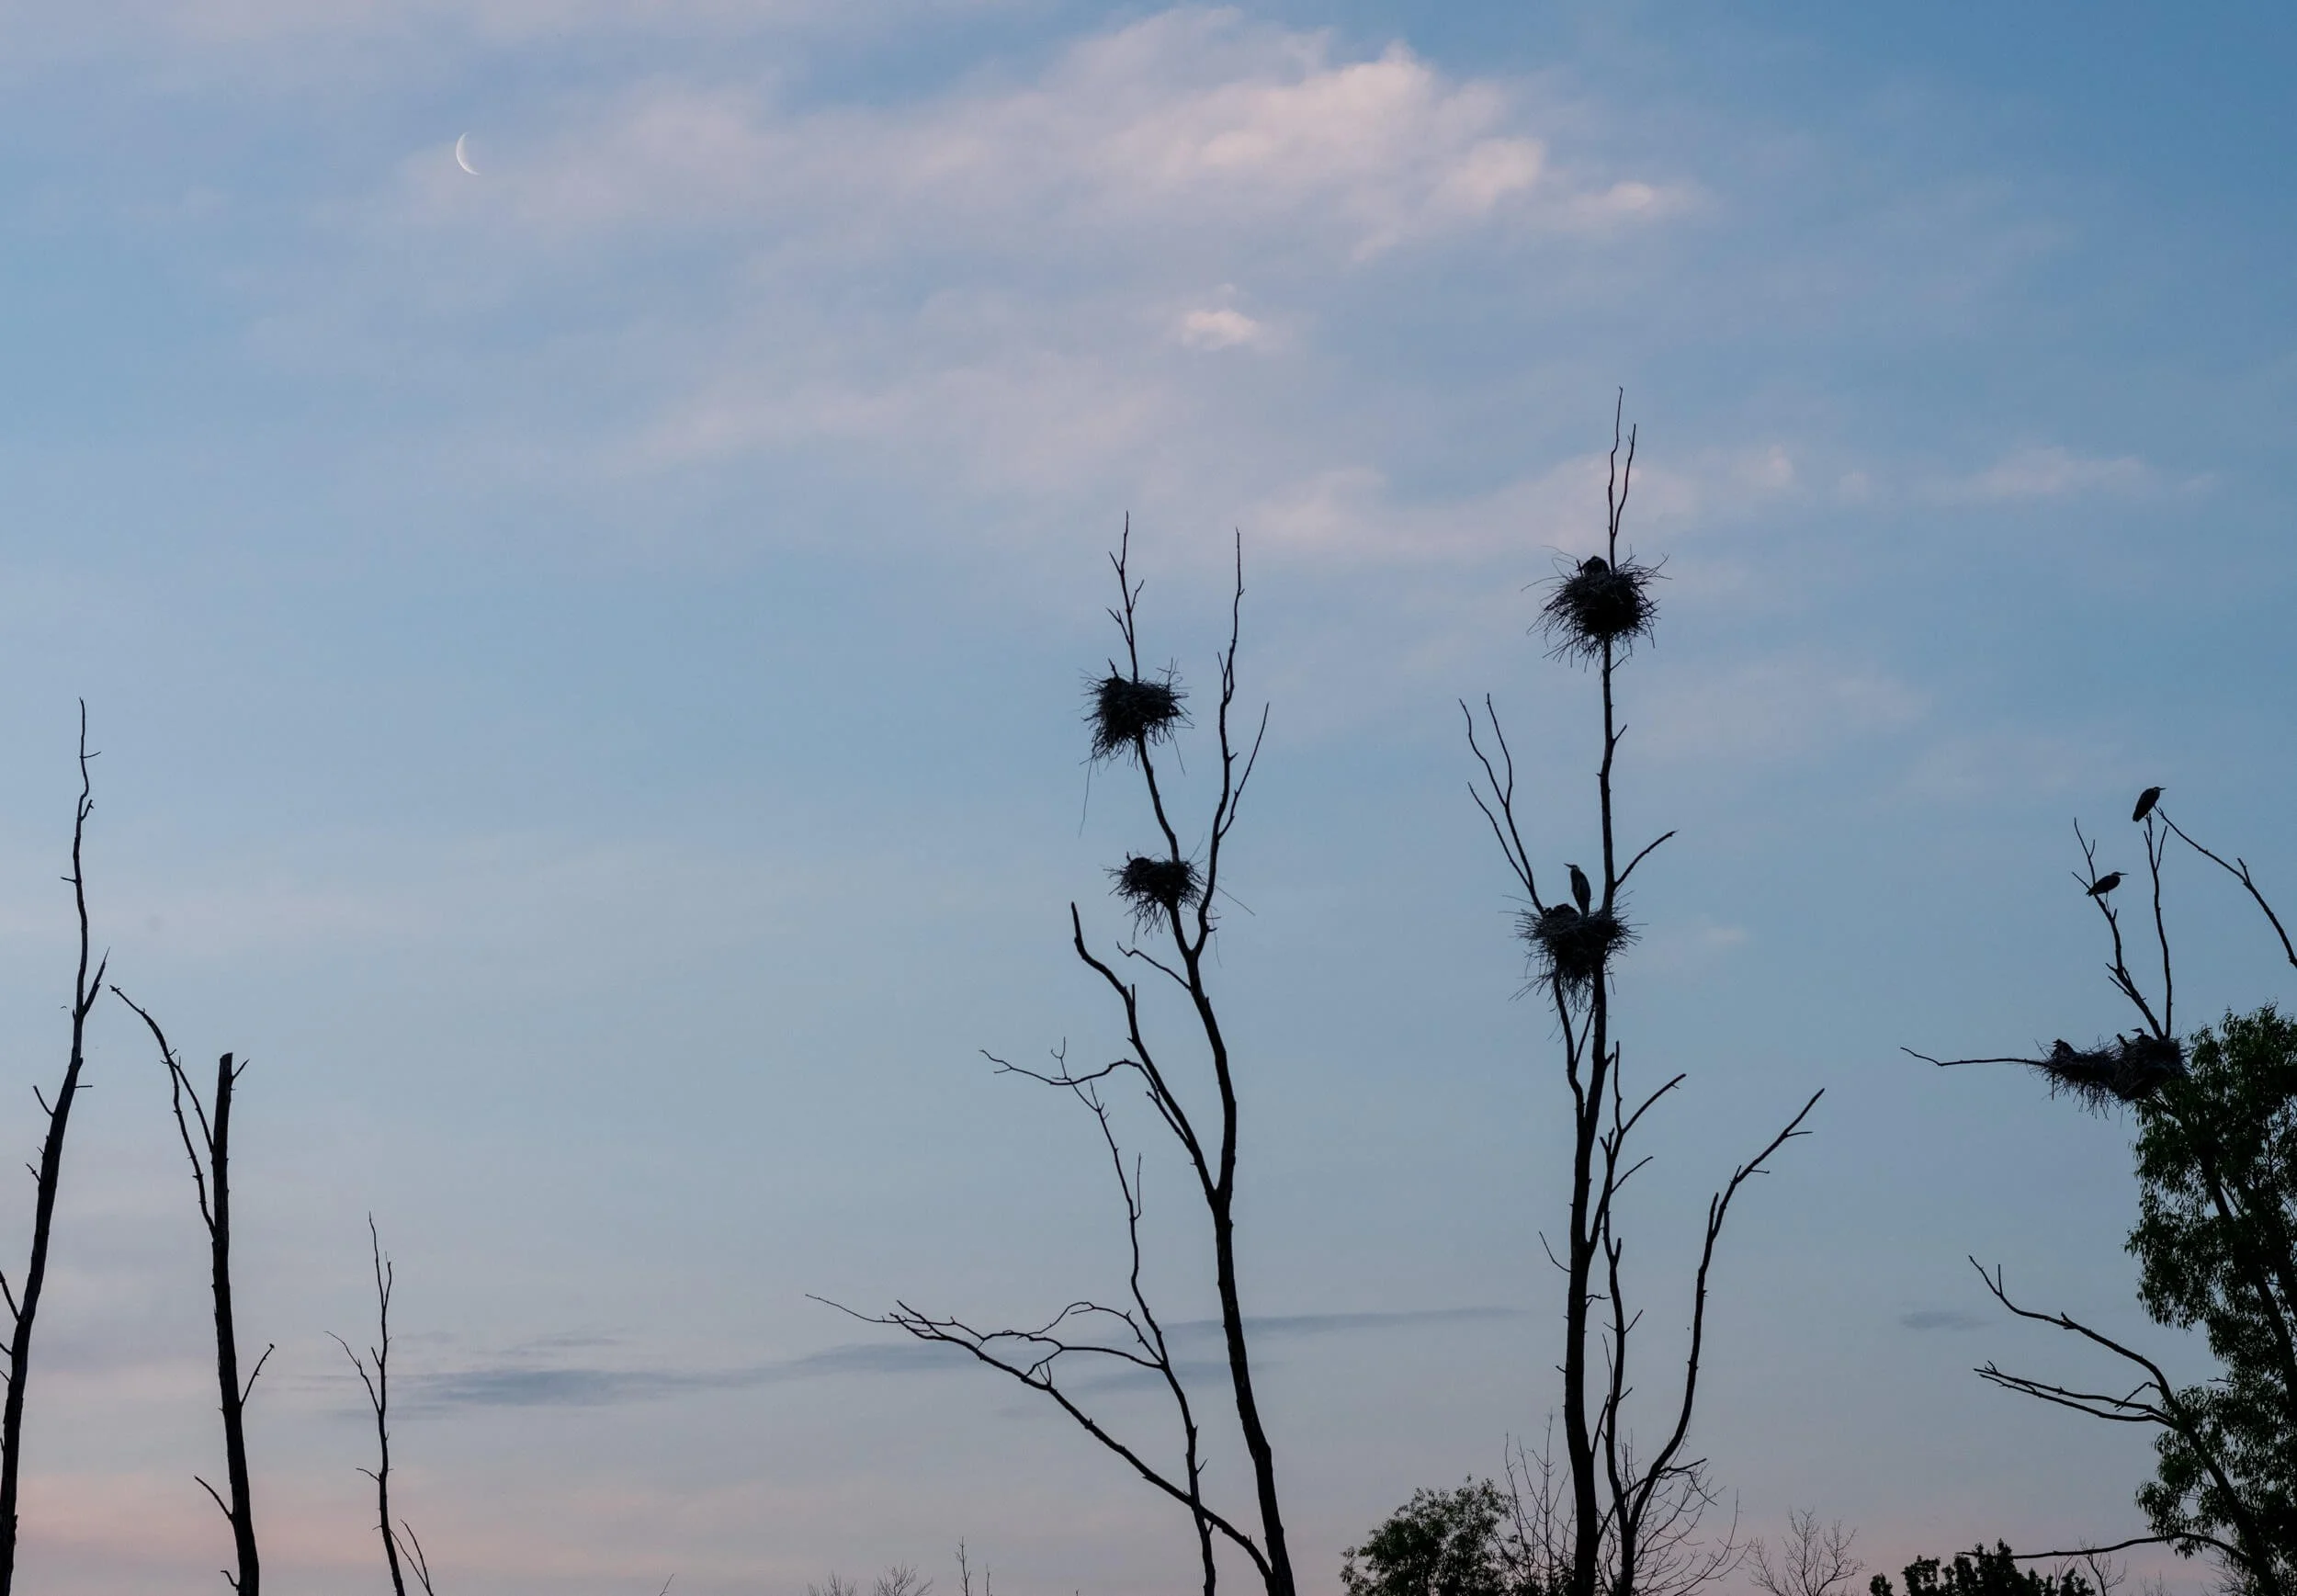
Great blue heron nests | Nikon D500 + 50 mm f/1.8G | ISO 800, 1/500, f/5.6
Conclusion
Now that you have learned how to photograph great blue herons, try to apply some of these tips next time you're in the field.
In general, this advice may help you not only with great blue herons, but also with other heron species. Just remember that each species and individual is different.
In the future, I will write other articles full of information about how you can improve your wildlife photography. The best way to stay informed about this is to sign up for the APC Wildlife Photography newsletter and have the latest blogs delivered right to your inbox.
Where to buy
If you are interested in purchasing any of the gear I used to shoot these photos, check out the links below:
If you live in Canada, Kijiji is a great place to get even cheaper gear if you are willing to buy cameras and lenses without an intermediary service, such as Amazon or eBay.