10 Affordable Wildlife Photography Accessories for Beginners

When you’re starting out in wildlife photography, it’s tempting to think the next big, expensive upgrade — a sharper lens or faster camera — will solve everything. I’ve been there: watching endless reviews, scrolling through forums and gear lists, wondering if the newest model was the missing piece.
But here’s the truth: most beginners already have what they need in a camera and lens. Beyond that, it’s often the smaller accessories that make your time in the field easier, safer, and more enjoyable — without breaking the bank.
In this post, I’ll share the gear that’s served me well and the tools I’d recommend (or plan to get) so you can make the most of your time in the field and decide which ones are worth adding to your kit.
I use many of these items in my own workflow. Others are still on my wish list, but I know from experience (my own and that of other photographers) that they can be incredibly useful.

Blue-footed booby | Canon R10 + Canon RF 100-400mm F5.6-8 IS USM at 300mm | ISO 500, 1/500, f/8
Wildlife Photography Gear Reviews
If you are a wildlife photographer on a budget, you will not want to miss these in-depth reviews about the most affordable gear on the market.
1. Portable SSD (Backup & Storage)
If there’s one accessory that will save your future self a lot of frustration, it’s a portable SSD. I used to lug around clunky external hard drives that were slow and heavy. They were a pain to carry around.
Now I use a SanDisk Extreme Portable SSD. It’s light, fast, and small enough to slip into a pocket, making backups and transfers quick and easy. Wildlife photography fills up memory cards fast, and computers can fail, get lost or stolen. These drives let me clear cards after each shoot and keep my images safe.
On longer trips, I recommend carrying two SSDs in separate bags, just in case. It’s not glamorous, but it’s one of those investments that makes your workflow stress-free.
Why it matters
Your photos are your most valuable assets and hard drives fail more often than you think. A portable SSD keeps your work safe, fast, and accessible anywhere, giving you peace of mind every time you leave the field.
Recommended gear
SanDisk Portable SSD 1TB - great for most photographers
SanDisk Extreme Portable SSD 4TB - more space, higher price
Bottom line: A fast, reliable SSD means you never lose your shots again. It's peace of mind in your pocket.
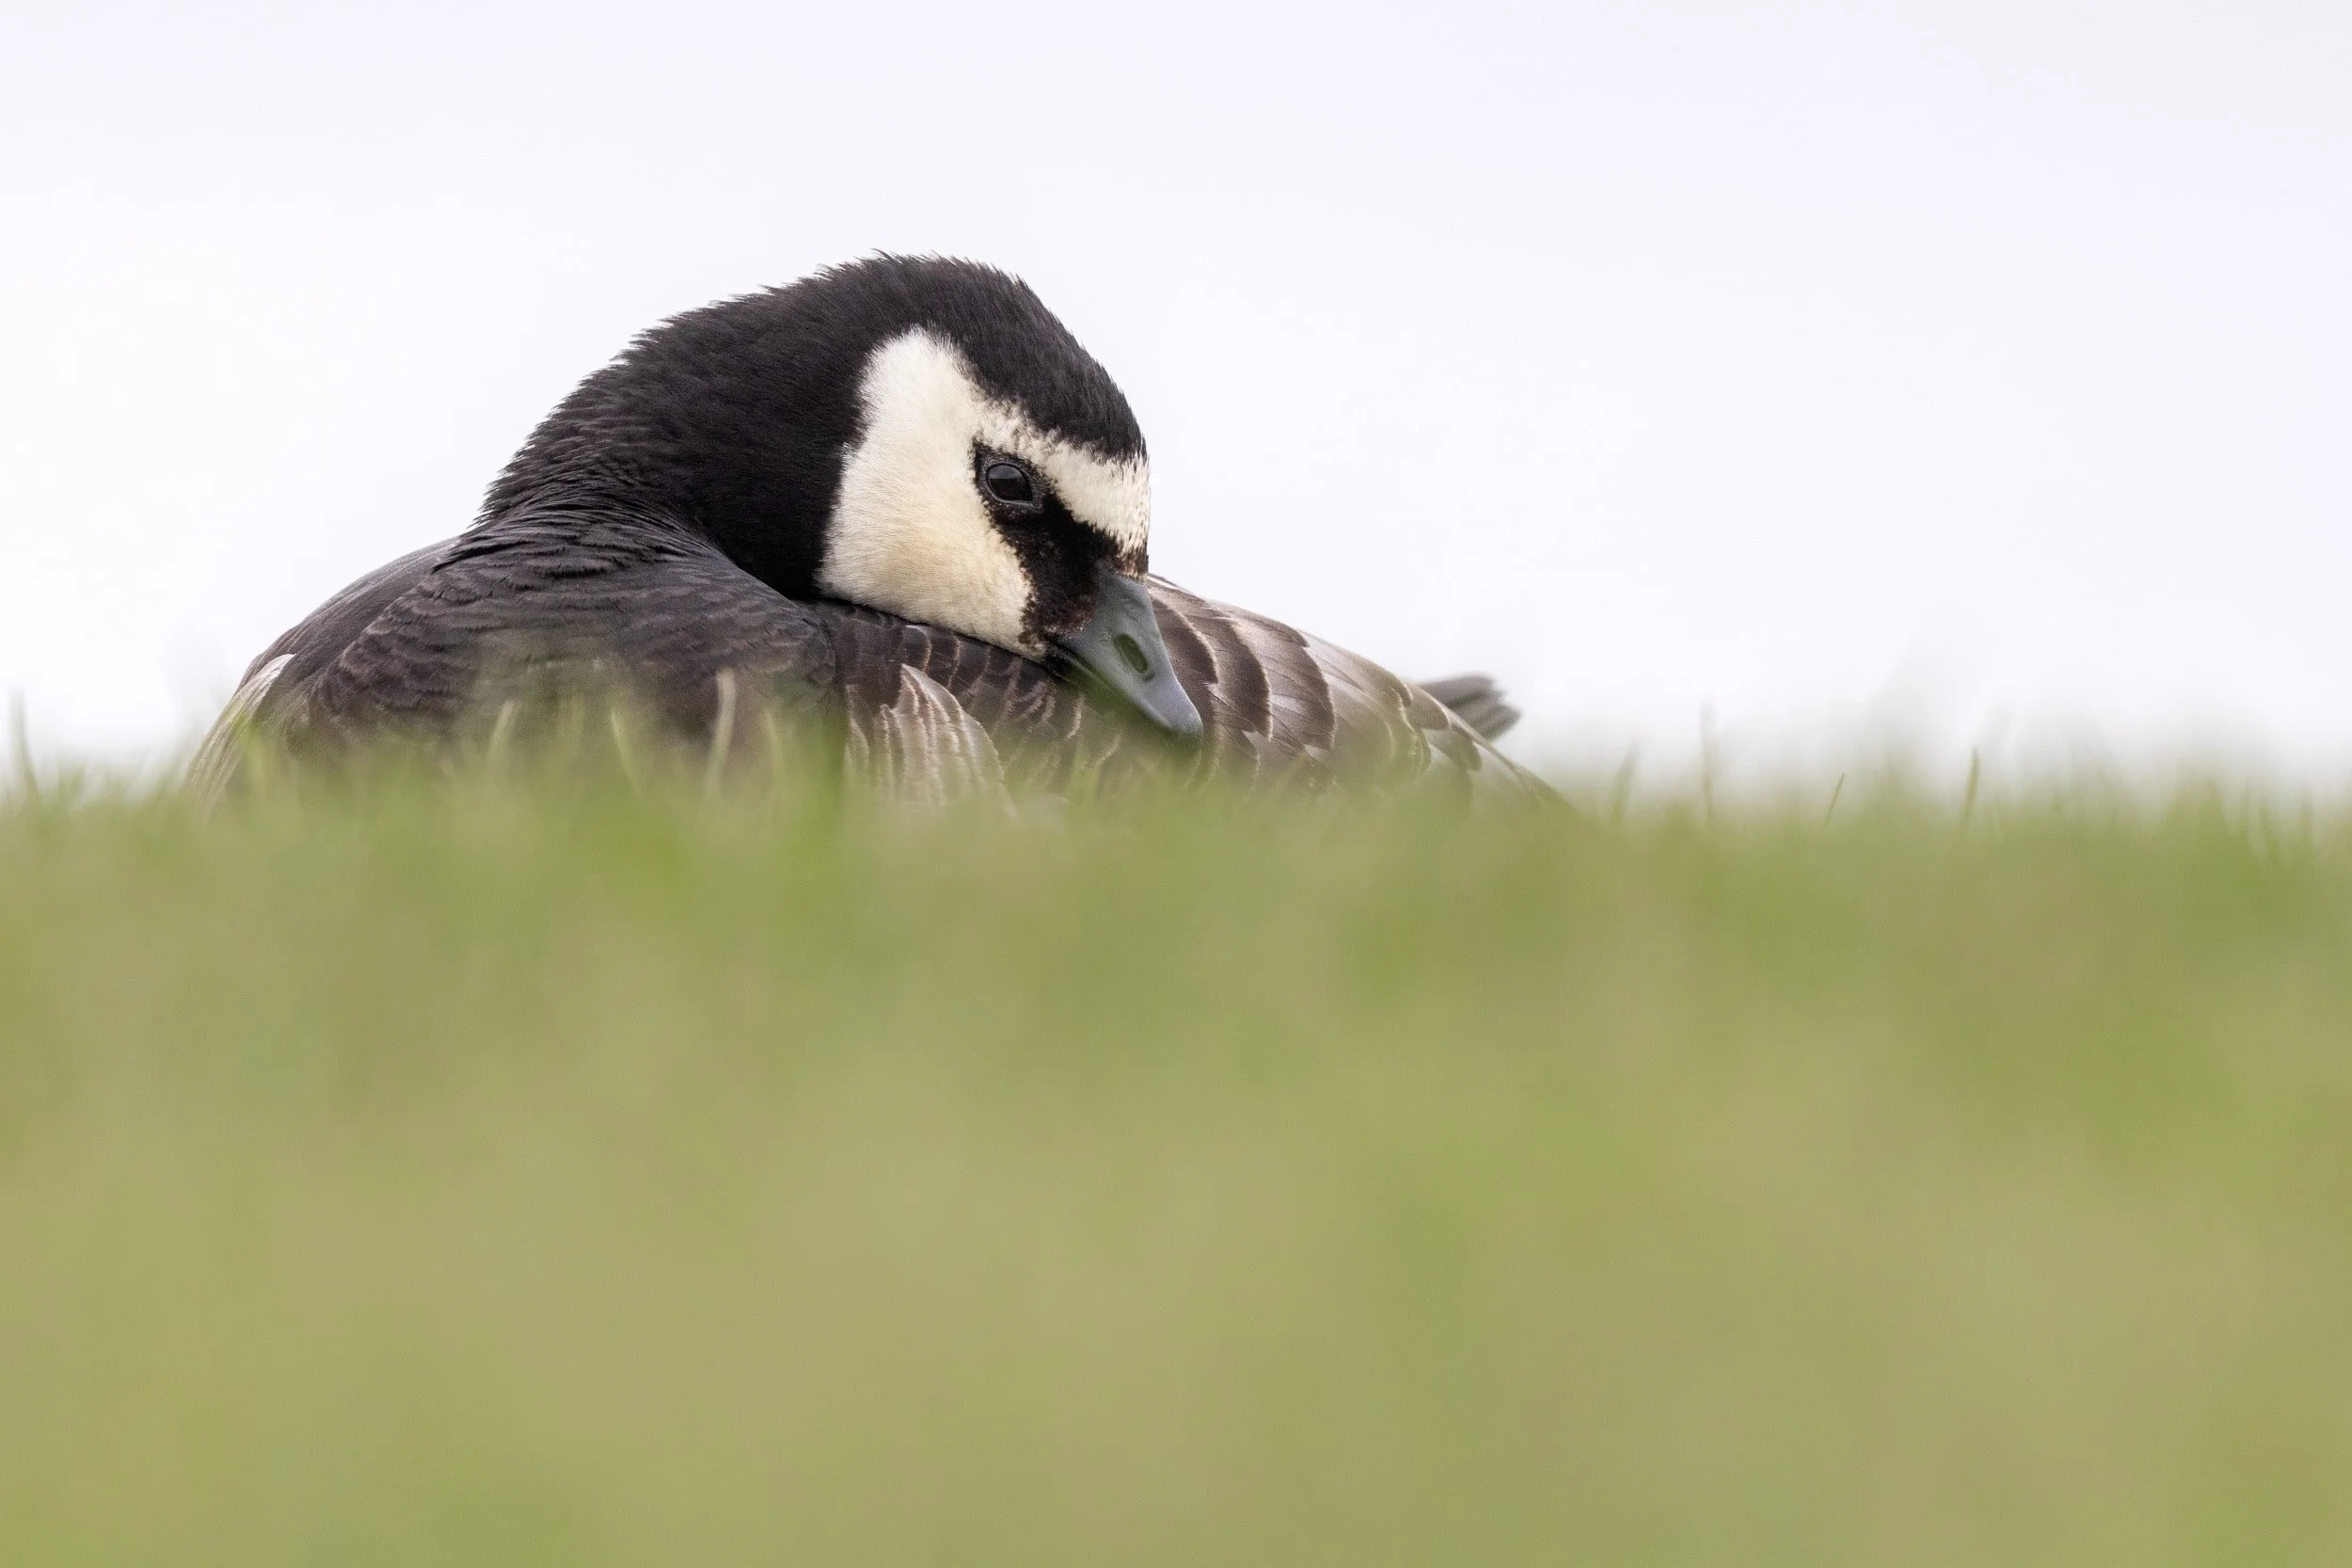
Barnacle goose | Canon R10 + Canon EF 300mm f/2.8L IS II USM + 2x III extender | ISO 400, 1/320, f/8
2. Extra Memory Cards
Running out of storage during a shoot is every wildlife photographer’s nightmare. Extra memory cards are lightweight, affordable, and give peace of mind. Having spares means you never have to delete photos in the field, a mistake many beginners regret.
When I started out, I thought one or two memory cards were enough. Now I carry at least five. Cards can fail or become corrupted, so extras are insurance. I keep them in my bag, my pocket, or a card wallet so I’m never without storage.
When choosing cards, the speed class matters:
V30: cheap but struggles with modern burst shooting.
V60: the sweet spot between cost and performance that handles 15–20 FPS bursts reliably.
V90: top-end and expensive, designed for >30 FPS, but often overkill for beginners.
Why it matters
Running out of storage in the middle of a shoot is a rookie mistake — and an easy one to avoid. Extra memory cards mean you can keep shooting freely without deleting great photos to make space.
Recommended gear
Bottom line: More cards mean more opportunities. Carry extras so you can keep shooting without hesitation.
3. Memory Card Wallet
The more cards you have, the more you need to keep them organized. Loose cards in your bag or pocket are an accident waiting to happen. If you’re not already using one, a card wallet will save you a lot of stress.
A waterproof, sealed wallet keeps every card in one safe place. Mine holds around 20 cards; simple but essential.
You can even create a system like “front side out = empty, back side out = full” so you don’t accidentally overwrite images. Your wallet doesn’t need to be fancy; just reliable, roomy, sealed, and ideally waterproof.
Why it matters
Organization in the field saves time and stress. A simple wallet keeps your cards safe, dry, and easy to find so you can focus on shooting, not searching.
Recommended gear
Bottom line: A good card wallet keeps your storage safe and your sanity intact.

Greater flamingo | Canon R8 + Canon RF 100-400mm F5.6-8 IS USM at 400mm | ISO 800, 1/1000, f/8
4. Extra Batteries
Alongside memory cards, this is arguably the most important accessory on this list. If your camera’s dead, you can’t do anything.
No power, no photos. I’ve had amazing moments ruined by a dead battery. It only takes one to learn your lesson.
I carry five or six batteries for every outing. They don’t need to be official brand versions either. Many wildlife photographer friends of mine and I use off-brands like Artman that perform just as well for a fraction of the price.
For example, the Canon LP-E17 battery for my Canon R10 and R8 costs $54.75 for one official battery, while Artman offers two batteries plus a charger for $27.57.
Why it matters
Wild animals don’t wait for you to recharge. Extra batteries keep your camera running through long days outdoors, so you never miss the shot of a lifetime.
Recommended gear
Bottom line: No power, no photos. Carry spares and never miss the shot.
5. Lens and Sensor Cleaning Kit
Dust and smudges are inevitable in wildlife photography. Lenses and sensors collect dirt constantly, especially when you change lenses outdoors
A simple cleaning kit pays for itself the first time it saves you a service center visit. A basic kit usually includes a blower, brush, microfiber cloths, and cleaning fluid.
Clear glass equals sharp, vibrant images. Many beginners forget this step and end up with hazy photos when a quick wipe could have fixed it.
My routine: a rocket blower for dust, brush for particles, and microfiber cloth for smudges. Sensors need more care, but learning to clean them is worth it. DSLRs offer more protection, while many mirrorless cameras don’t, so dust builds up faster. Cleaning your sensor can sound intimidating at first, but it’s a valuable skill.
Prevention is simple, and these kits cost almost nothing compared to the value of your camera.
Why it matters
Dust and fingerprints can ruin an otherwise perfect photo. A small cleaning kit keeps images sharp and saves you from expensive service visits.
Recommended gear
Bottom line: A quick clean can turn a hazy shot into a sharp one and save you expensive
repairs later.

Wood pigeon | Canon R10 + Canon RF 100-400mm F5.6-8 IS USM at 248mm | ISO 640, 1/200, f/8
6. Protective Case and Screen Protector
Cameras are big investments, and many wildlife photographers plan to resell them later, when we’re ready to move on to a new model. But crawling through mud or brushing past shrubs isn’t great for expensive gear.
To keep gear performing and looking its best while preserving resale value, I use a protective case and screen protector. A silicone case cushions bumps and scratches, while a tempered-glass protector keeps the LCD safe.
It’s not the flashiest accessory, but it adds real peace of mind in the field (and the silicone even feels silky-smooth).
Why it matters
Wildlife photography is rough on gear — from crawling on the ground to shooting in rain and dust. A case and screen protector guard your camera against scratches and wear, preserving its value and reliability.
Recommended gear
Bottom line: A few dollars in protection can save hundreds in repairs — keep your camera safe from scratches and bumps.
7. Photography Gloves
Wildlife often means early mornings in cold weather. Cold = useless hands. Photography gloves keep you warm while letting you handle your camera.
When I photograph shorebirds, I often lie low with my hands between the lens and wet sand or mud. Gloves keep me comfortable and protected. In freezing conditions, they’re invaluable. If your hands go numb, you won’t last long out there.
When choosing gloves, look for three things:
Dexterity: press small buttons and turn dials without taking them off.
Warmth: thin enough for movement but insulated enough to keep fingers from going numb.
Grip: rubberized fingertips or textured palms prevent dropping gear.
I’ve used gloves for years and find them essential. The “right” pair depends on preference and climate: some layer thin liners under mitts in extreme cold; others use a light, flexible pair for cool mornings.
Start with a pair that balances warmth and dexterity, then upgrade as you learn what works. Pro tip: fishing gloves with removable thumb and index covers often work just as well as “photography” ones.
Why it matters
Cold, stiff hands make it impossible to react quickly. Good gloves keep you warm without sacrificing control, so you stay comfortable and ready in any weather.
Recommended gear
Budget: SIWOKJJO Windproof and Waterproof Warm Gloves with Finger Cap
Premium: THE HEAT COMPANY - HEAT 2 SOFTSHELL
Bottom line: Warm, flexible gloves keep your hands working and your focus on the shot, not the cold.

Common sandpiper | Canon R8 + Canon EF 300mm f/2.8L IS II USM | ISO 400, 1/320, f/8
8. Rain Cover (Camera & Lens)
Wildlife photography doesn’t stop for bad weather. Rain can ruin expensive cameras and lenses unless you’re prepared, especially if, like me, you shoot where it rains often.
Rain covers are lightweight, packable, and save you from shooting one-handed under an umbrella. Even a simple plastic sleeve beats risking water damage.
Why it matters
Weather is unpredictable and so are wildlife encounters. A rain cover lets you keep shooting in wet conditions without risking damage to your gear.
Recommended gear
Bottom line: Don’t let bad weather stop a good shoot — a simple rain cover can save your gear and your day.
9. Binoculars
I don’t always carry them, but when I do, I wonder why I don’t use them more often. Binoculars help you spot wildlife from a distance before committing time and effort to an approach.
Instead of hauling out your big telephoto lens, fiddling with focus, and adjusting exposure, you can simply look through binoculars. That can be the difference between deciding to crawl across the beach toward black-bellied plovers or realizing they’re too far away to bother.
A compact, cheap to mid-range pair is all you need to spot wildlife before setting up or disturbing subjects.
Why it matters
Being able to scout subjects before setting up saves time and energy. Binoculars help you plan your approach, spot behavior from afar, and minimize disturbance to wildlife.
Recommended gear
Bottom line: Spot wildlife faster and plan your approach better. Binoculars help you work smarter, not harder.

Little egret | Canon R10 + Canon RF 800mm f/11 | ISO 125, 1/500, f/11
10. Comfortable Camera Strap or Harness
The strap that comes with most cameras is terrible for long wildlife lenses. It digs into your neck and makes carrying gear a chore. Shoulder or side straps like those from BlackRapid are much better because they distribute the weight so the camera hangs comfortably at your side.
Harnesses go further by spreading weight across your torso, perfect for heavy telephoto lenses. One of my friends, Mark Bernards, uses a Cotton Carrier harness that lets him comfortably carry big lenses for hours.
Wildlife photography often means moving through trails or waiting long hours; comfort matters, and this upgrade makes a huge difference.
Why it matters
Heavy gear wears you down fast. A good strap or harness distributes weight evenly so you can shoot longer, move easier, and focus on the photo rather than the strain.
Recommended gear
Budget: ARVOK Camera Strap - Adjustable Shoulder Strap with Wrist Strap
Premium: Cotton Carrier CCS G3 Camera Harness System for One Camera
Bottom line: Comfort matters in the field. A proper strap or harness lets you shoot longer and move easier.
Bonus: What NOT to Buy
I’ve been tempted to get a groundpod for years. I’m not a big tripod fan; I’d much rather hand-holding my camera to get low. But that gets tiring fast, and it’s tough on your arms.
A ground pod is the perfect middle ground: it keeps your camera off the mud or sand and supports your setup for long sessions without strain. Many photographers swear by them, and I’d like to own one.
My only hesitation is the price: they are very expensive. Paying over $100 for what’s basically a glorified frying pan without a handle feels unnecessary. Take the NatureScapes Skimmer Ground Pod, for instance.
In fact, you can make one yourself for far less. Several wildlife photographers — including Elliot Hook, Robin Hoskyns, and Tony Whitehead — have already done and provided tutorials for.
If you’re skilled with tools and think a ground pod would help your photography, build one yourself. It’s cheaper and just as effective.

Iberian ibex | Canon R10 + Canon RF 200-800mm F6.3-9 IS USM at 637mm | ISO 1600, 1/250, f/9
Bottom line
Wildlife photography doesn’t have to empty your wallet. My philosophy is simple: get the best photos, have fun, and stretch your budget as far as possible.
You don’t need every accessory on this list, but a few can make a huge difference, whether that’s staying warm, protecting your gear, or simply staying in the field longer.
I hope you found this helpful and, more importantly, that you get out there, enjoy your sessions, and come back with photos you’re proud of. I’d love to see what you create.
Affordable accessories can transform your wildlife photography experience. Start small, stay organized, and invest where it matters most: keeping your gear safe and your hands shooting.